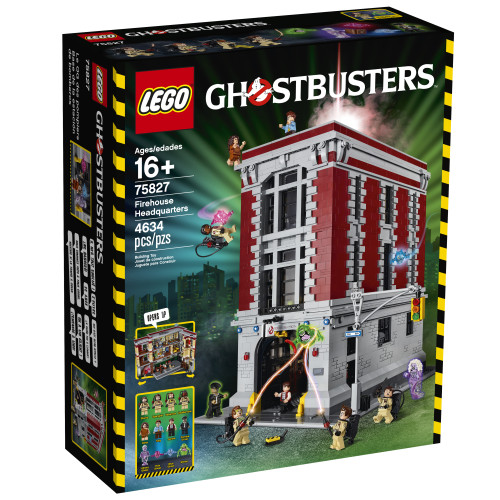
The LEGO Ghostbusters 75827 Firehouse Headquarters set is as good as the Ghostbusters music video is bad. Let’s pause a moment and have a quick viewing to see just how terrible the music video is:
Yes, the set is that good. There are tons of details mixed together from Ghostbusters I and II packed into three levels. The minifig cast is nearly perfect. There’s going to be a lot of pictures in this review. So let’s take a closer look in our review of LEGO Ghostbusters 75827 Firehouse Headquarters, shall we?
The Box
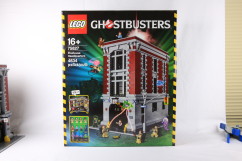
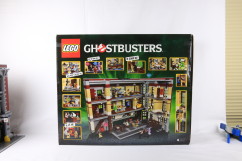
I normally wouldn’t make a big deal out of the box but it’s a gorgeous box. The hazard striping along the sides really highlight the set and makes it stand out. The front has the design placed in portrait mode but the detail photos on the back are printed in a landscape orientation. The orientation switch between the front and back might be a first for a LEGO package.
The Minifigs
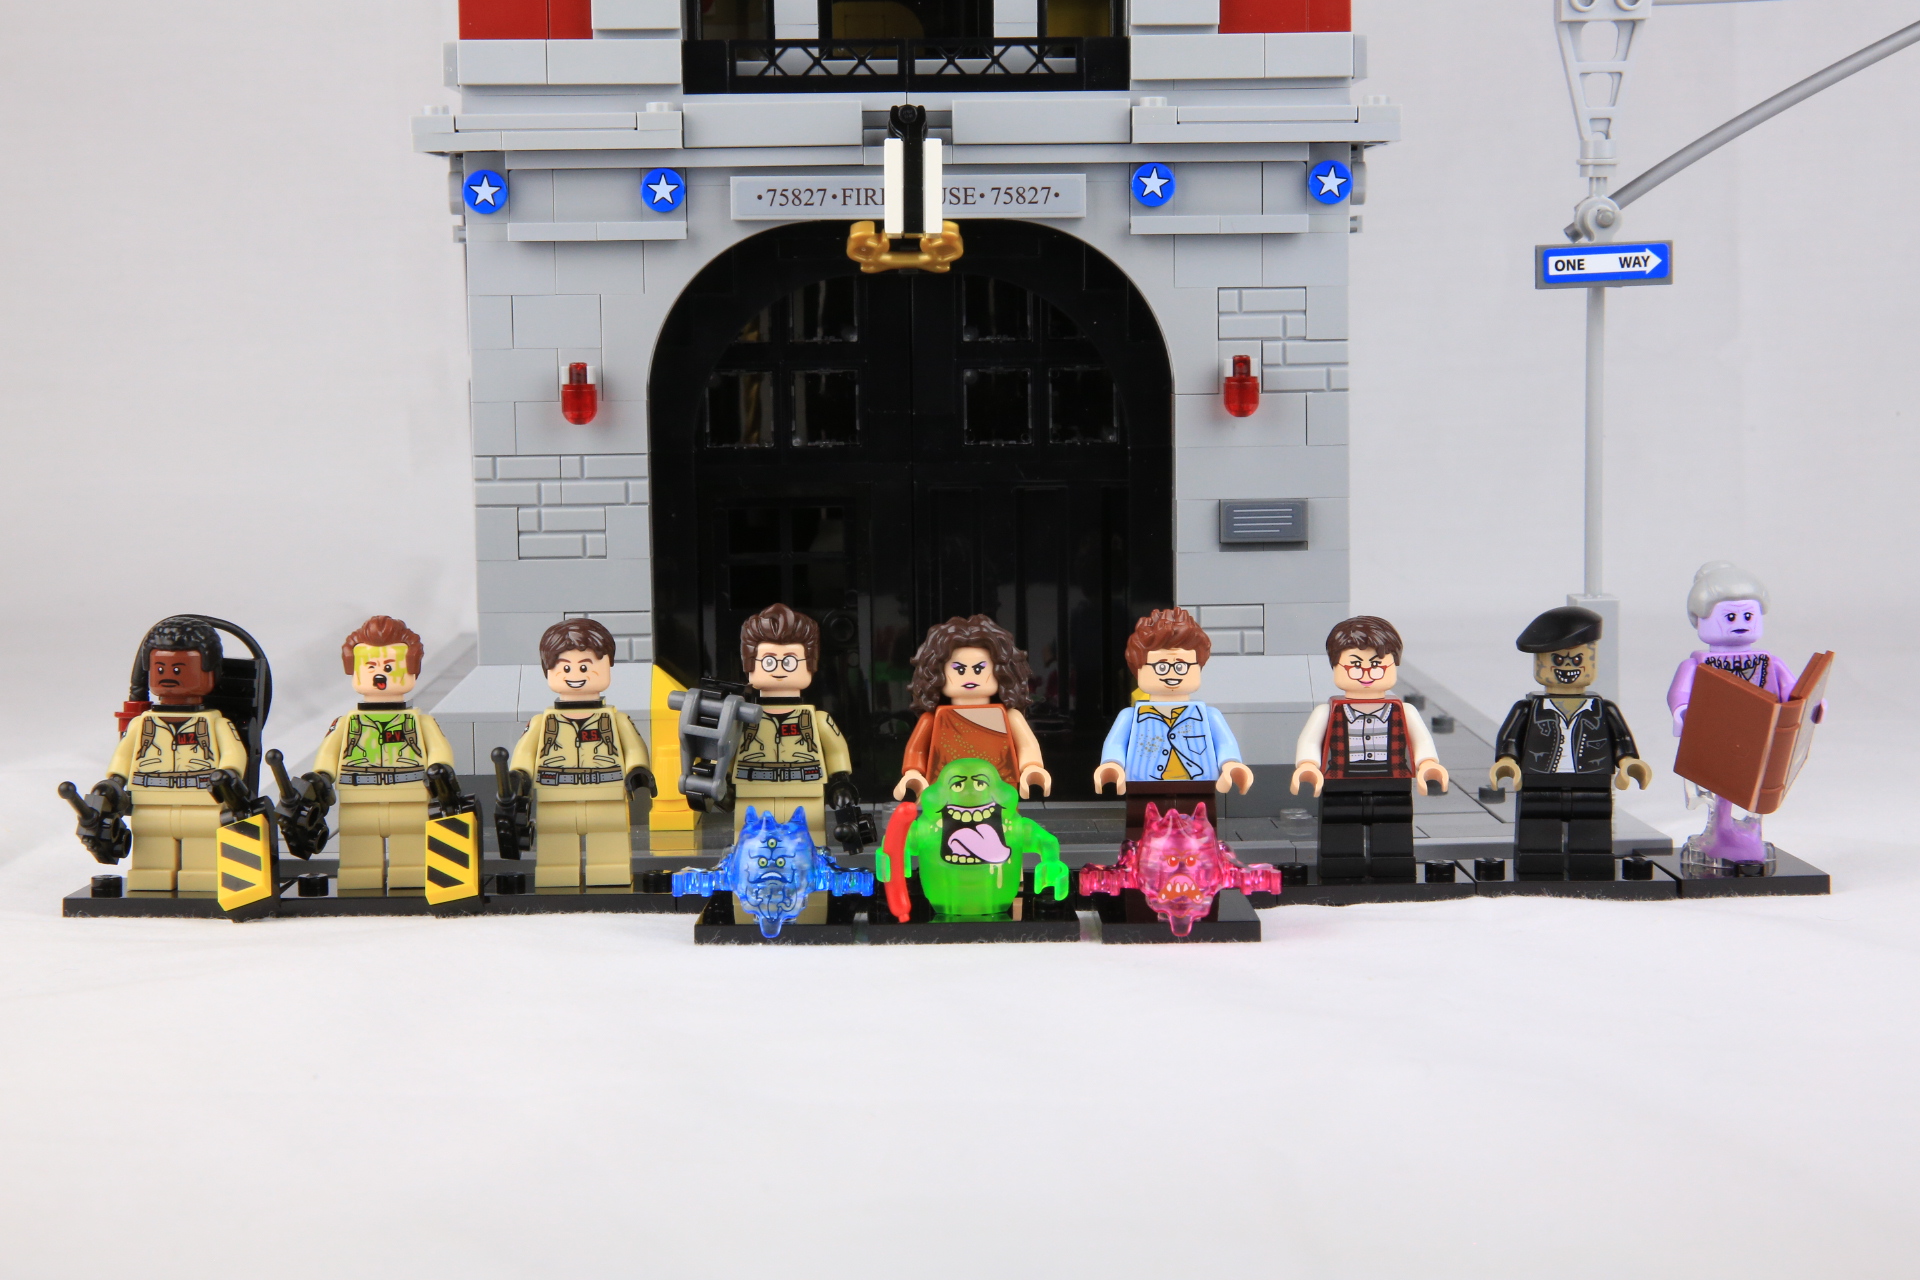
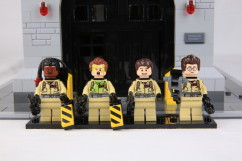
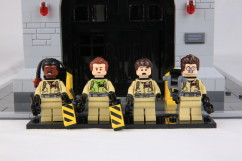
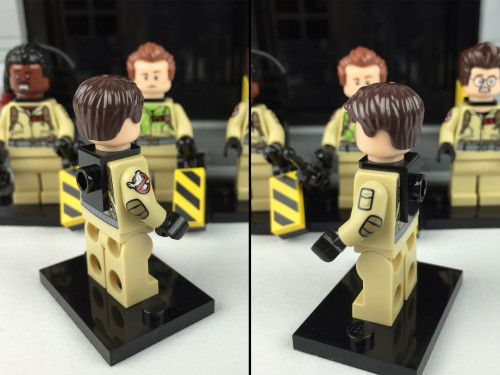
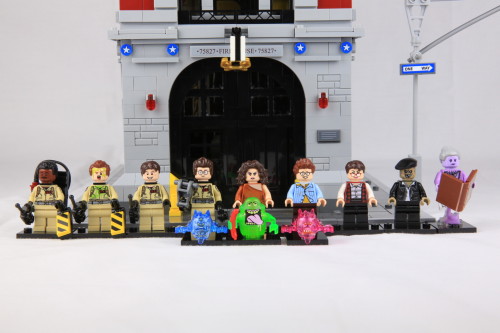
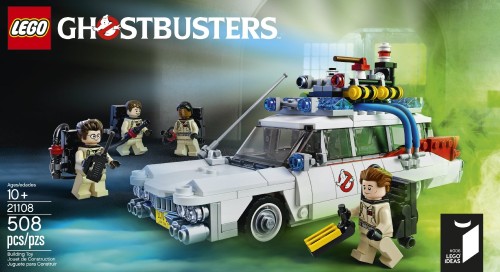
Egon Spengler, Raymond Stantz, Peter Venkman, and Winston Zeddemore are all different minifigs than the ones you get from the LEGO Ideas 21108 Ecto-1 set and are better: the torsos have been upgraded and feature printing on both arms. Venkman’s torso and one side of his head also have a slime print on it so you can relive the most famous line from the first movie, “I’ve been slimed.” It’s a shame that LEGO did not include a spare “clean” torso for Peter; you could always swap arms from his Ecto-1 set or wait and plunk down some money for the upcoming LEGO Dimensions Ghostbusters Level Pack which will feature a clean version 2 of Peter Venkman. The faces remain unchanged for the other three characters for both the scared and non-scared expressions. The proton packs also remain unchanged.
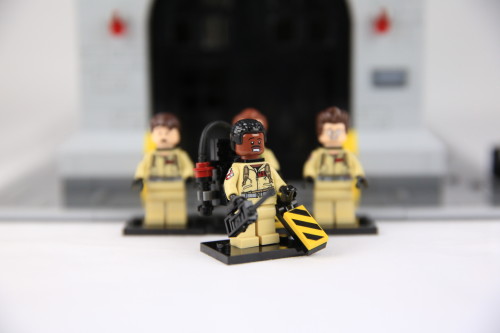
And one of the best new upgrades for the Ghostbusters crew is Winston’s hair: it is now a proper Afro-textured hair compared to the slicked back hair of his version 1 counterpart. Their ghost traps now have a black and yellow printed hazard pattern on a 1×2 tile instead of the yellow 1×2 grille tile that was used in the Ecto-1 set. Egon now comes with his P.K.E. Meter. The only part left to upgrade now would be to put printing on the legs but I suppose we’ll get that with version 3 of the minifigs in the upcoming UCS Ecto-1 (Before anyone gets too excited, I’m totally kidding about a UCS Ecto-1 set; I was merely trying to draw a comparison with how Boba Fett was upgraded with every new iteration culminating into the ultimate boba fett in the UCS Slave I set. There is no UCS Ecto-1 set that I know of).
Janine Melnitz is rocking her short-haired brunette look from Ghostbusters I and features the typical normal face/scared face double-sided head.
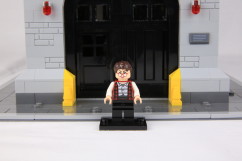
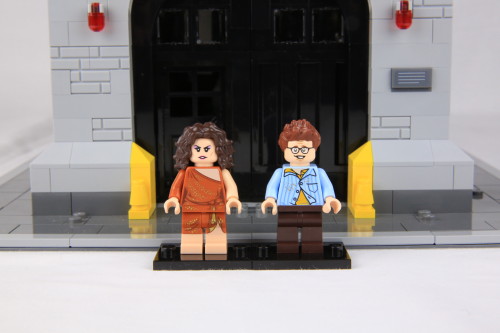
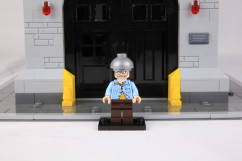
Dana Barrett and Louis Tully, also known as The Gatekeeper and The Keymaster respectively, are near perfection and represent their Ghostbusters I characters. You get the possessed version of Dana Barret with a double-sided head showing her somewhat normal expression and a possessed-by-Zuul expression It’s a shame you don’t get another version of her in regular civilian wear like Louis. A fabric skirt would have been a nice touch for this version but no matter; her printed legs are good enough. Louis gets the love though since he comes with an alternate head. His regular head is double-sided and features his normal nerdy self which perfectly captures Rick Moranis’s expression with the other side having red, glowing demon eyes. The alternate head is when Louis is possessed and is undergoing an evaluation by Egon, complete with a helmet and a chin strap print.
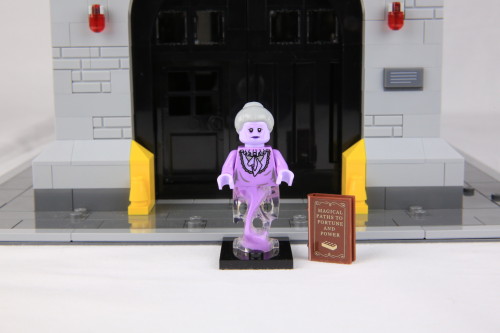
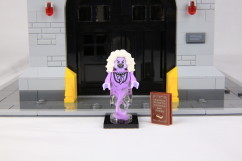
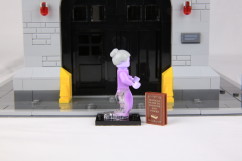
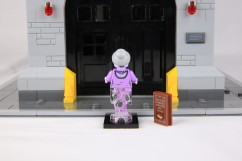
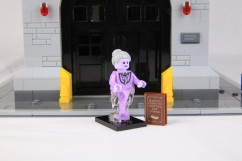
The Librarian was the first ghost the crew encounters in the first film. Her upper half is a regular minifig torso and the lower half is made up of a new “ghostly” element. She also comes with a spare hair piece that you can swap out to match whichever face of the double-sided head you want to use. She comes with a book accessory that you sticker. The sticker is for the book cover and reads “Magical Paths To Fortune And Power” and features a LEGO brick below the title. Ghostbusters nerds will note that the book made it’s appearance in Ghostbusters II and not I which the Librarian is based on.
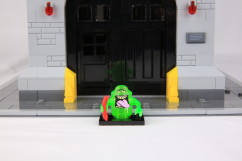
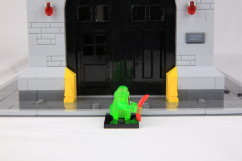
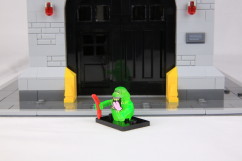
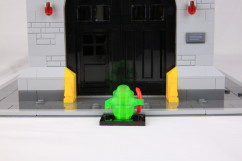
Slimer is a bit disappointing to be honest and probably the worst minifig out of the line-up. His plastic is a bit “milky”; not sure how else to describe it. He is not exactly trans-green like how a trans-green LEGO element would look or how you would expect; he’s “milkier” and is actually pretty accurate to its on-screen counterpart. However, his face printing is a bit cartoony, more so than the other minifigs, and the expression makes him look like he’s suffering from food coma after binging out on a buffet. I rewatched Ghostbusters several times while building and even while writing this review and despite the comedic nature of Slimer sliming Venkman and his various, he’s a lot more hostile and threatening in Ghostbusters I than his LEGO counterpart looks. In II, he didn’t seem very threatening at all, just hungry and was used as sort of a bit player cameos peppered throughout the movie.
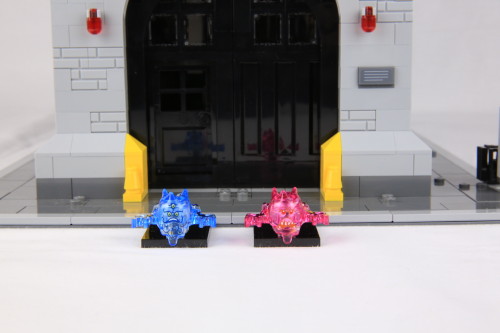
By contrast, the no-name Pink and Blue Ghosts look way more menacing. I was told that they were new elements borrowed from an upcoming theme which could very well be true; I’m not familiar with the piece at all. You get a Pink and Blue Ghost in this element, each with a different expression.
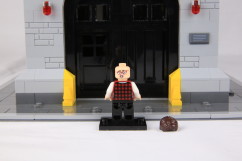
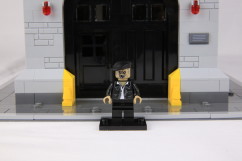
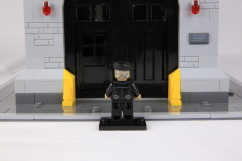
Zombie Driver comes with a black beret and a matching zombie-fied torso, i.e. it has a matching zombie print at the neck line and the jacket has a few tears. Nothing extraordinary about this minifigure but the mottled look limits its usefulness. If I remember correctly, he makes an appearance in the first film for half a second after pencil neck Walter Peck has the power shut down to the containment unit.
Let’s move onto the building now.
Exterior
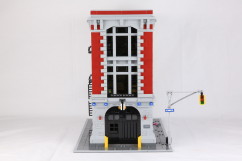
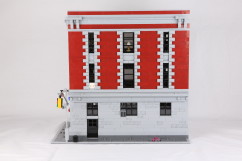
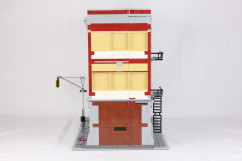
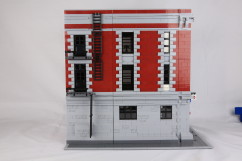
It’s a big rectangular box with a door on one end, windows on two sides, a fire escape, and an atrocious looking back end. I can’t speak for its authenticity because maybe it’s supposed to look like completely slapped together haphazardly, but the back of the building looks like absolutely no thought went into making it look uniform with the other four sides of the building. The entire building is double walled but here you can plainly see the elements used to make up the interior side.
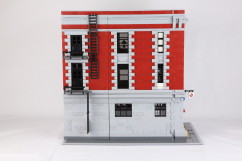
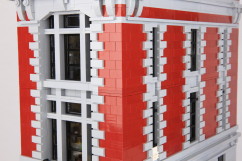
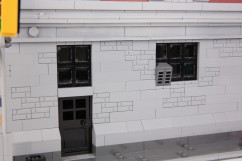
The exterior architectural elements matches perfectly to the actual firehouse building that was used in the film. The staggered stonework around the windows was the most repetitive aspect of the building experience. If you’ve built the Modular Building 10197 Fire Brigade, you get an idea of what I’m talking about. The masonry bricks are peppered throughout the lower part of the walls perfectly conveying the mottled look of a building that’s on its last legs.
The roof is disappointing as it is devoid of any details you’d expect to find. Perhaps this is true to the source material and the roof really is this sparse but there are barely any ventilation ducts, antennae, or anything else. The thing you do build emulates some ventilation openings of some sort but mainly it is just a small area designed to mask the clip and bar elements used to keep the building closed up. This is the only connection point that locks the building up tight.
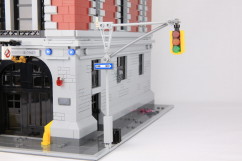
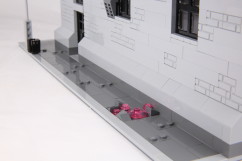
There is an intersection light with a trash can on the street corner. It’s inclusion is a little puzzling as it sticks out a couple of inches out the side. It doesn’t feel like it adds much value and can be removed altogether without affecting the authenticity of the set. If anything it just gets in the way if you’re trying to display things and have limited space. Plus, since it sticks out so much you’re prone to knocking into it and taking the trash can down with it. Further down the block there is a bit of trans-pink elements built into the ground, representing the pink ooze from the beginning of Ghostbusters II.
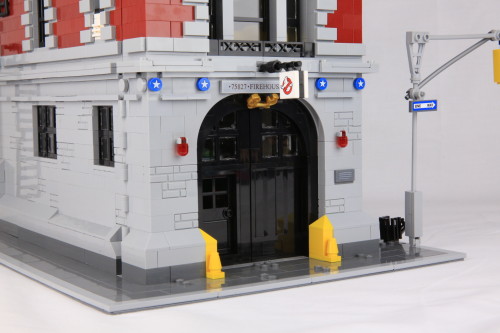
The front is the most interesting side to look at simply because it has the most stuff to look at. The Ghostbusters logo sign is stickered and is the only element I wish came printed instead. The address behind the sign is the set number “75827 Firehouse Headquarters”.
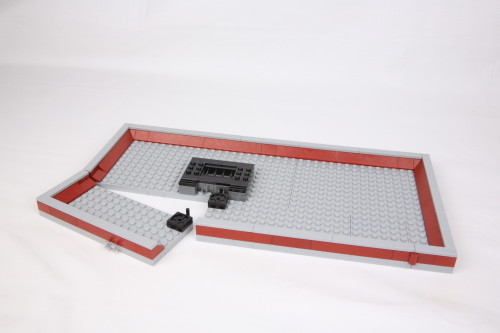
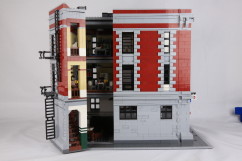
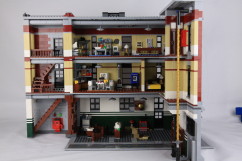
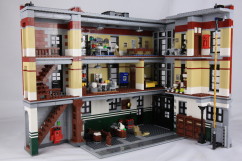
Opening the set up can be done in two ways. The most familiar way that’s been shown is by opening the two sides converting the building into a dollhouse playset. Even though the sides of the building swing open, the baseplate is not similarly hinged. I can’t think of any reason why they didn’t construct the floor in such a way that the floor splits apart and swings out with the building parts as this would have been much more stable and easier to handle. Had this been a single-floor playset, it wouldn’t be an issue but on this three-story building when the walls are opened up, the weight of all the bricks causes some sag and pull and inevitably as you try and close the building, the bricks will catch on the baseplate. You’ll have to forcibly lift the sides of the building to get it to go over the tiled base. It’s incredibly annoying.
Another issue is that only the 1st floor is hinged. The upper floors have no hinged connection whatsoever between the main building and the two panel that open up. The end result is a lack of stability and more strain being put on the first floor hinges. All the weight is resting on them contributing to the catching issue mentioned previously when trying to close the walls. Had more hinge bricks or plates been used on the upper levels it would have alleviated some of the strain and sag. You can see the gap when it’s opened up. The lack of a hinged baseplate I mentioned earlier just exacerbates the issue even more. The sheer weight of it all makes those wall elements sag and look and feel more fragile. It could be that it was intentionally designed this way to make removing floors easier and that was a compromise the designers were willing to live with. Whatever the reasoning, the $350 model ends up feeling more delicate than it should be.
If, say, you display your Firehouse Headquarters along with your Modular Building collection, you may not have the luxury of space to open the building up. Alternatively, you could also access the interior by lifting up each floor. The floors are separated by a layer of tiles punctuated by a stud connection here and there, so lifting off a floor should be easy. The roof has an extra connection point thanks to the fire escape ladders but once you disconnect that it will be easy to lift off. You’ll have to exercise great caution in reassembling the floors though; I would suggest doing it when the building is closed up to reduce the strain on the hinge bricks.
First Floor
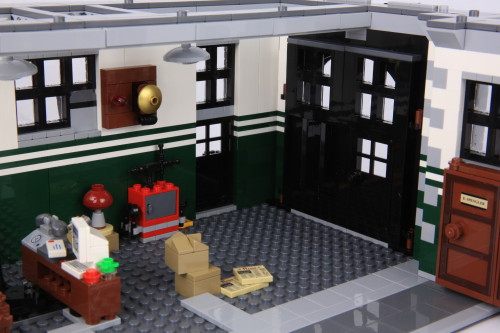
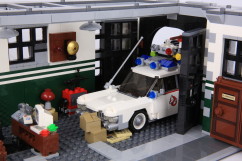
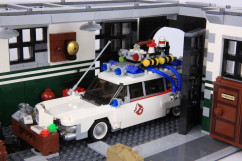
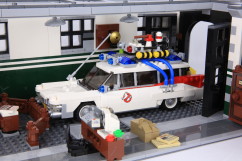
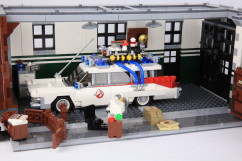
Despite the claim that LEGO Shop@Home makes, the Firehouse Headquarters can NOT fit the Ecto-1. It may be able to fit through the door but forget about actually parking it inside. The building simply isn’t long enough. You can park maybe half of it inside and keep the other half sticking out of the garage entrance but you really don’t want to do that in a demilitarized zone. And is that what they really mean? Open the doors and stick the nose of the car just a bit inside? This is the exact wording:
Unless “inside” means something completely different to LEGO than it does to everyone else, I’m thinking you’re supposed to be able to put the whole car inside. In order to do that and still be able to open and close the garage doors, you’ll have to remove everything between the back wall and the garage doors. Then you take the two desks, the railing, the cardboard boxes, and newspapers and stick them… on the roof… since there is no more room anywhere else to put them. LEGO is grossly misrepresenting this feature and I wouldn’t be surprised if they removed it altogether from the Shop@Home listing.
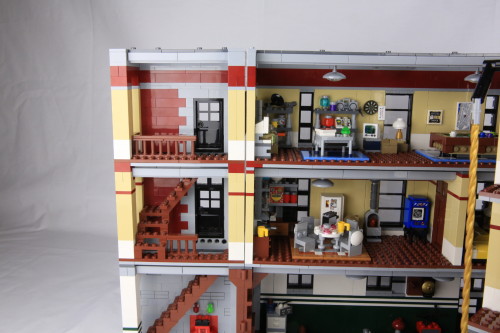
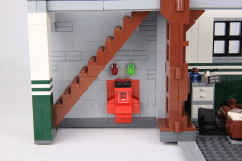
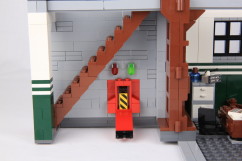
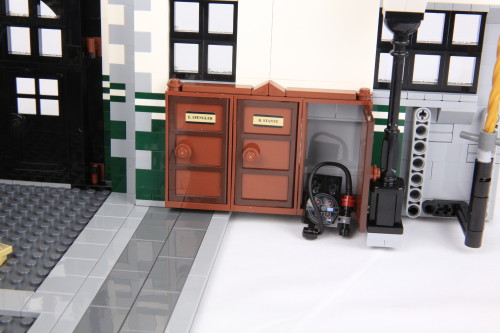
Understandably, they couldn’t exactly make a basement where the containment unit is located. Their compromise was to tuck it away under the first floor stairwell and it works perfectly well. It opens up and allows you to store a trap inside. Also on the first floor are the closets featuring some nice two-tone doors where you store the positron colliders for Venkman, Stantz, and Spengler.
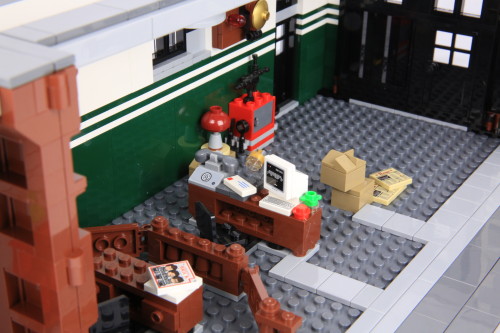
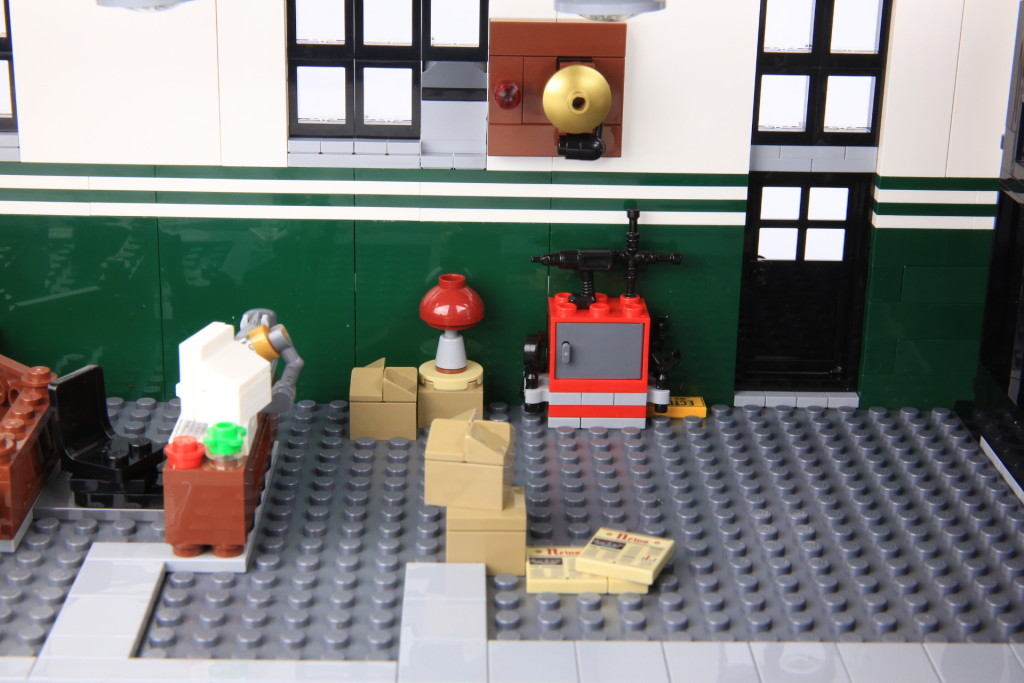
When not on the roof, Janine’s desk is situated directly across the garage doors. Her desk is littered with a ton of details including a desktop computer, a rotary phone, and a desklamp. Near her desk is a nice tool cart and the alarm bell is above that. There are some boxes and newspapers strewn about here (and also an the third floor) making it feel like the crew is still in a state of unpacking from their move-in.
Second Floor
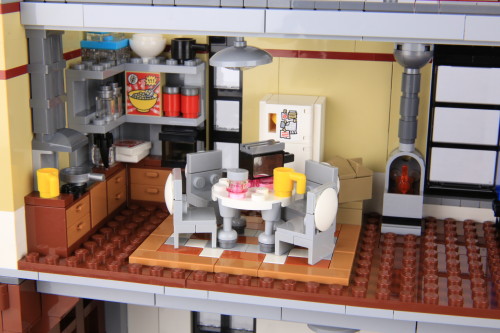
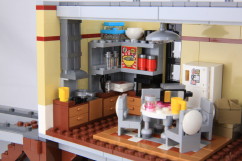
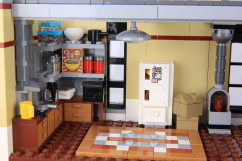
The second floor has the kitchen and it is the most detailed room in the entire building. Food items are everywhere, the cabinets are fully stocked. There are pots and pans, a stove with a hood, a microwave, and a coffee pot. The fridge is nicely built and stickered. The only thing missing from this scene are Chinese takeout food boxes from Ghostbusters I; instead you get some more pink ooze and the angry toaster from Ghostbusters II. The chairs are brick-built and are not anchored down so you’ll end up knocking them down or out of the playset completely like I have many times.
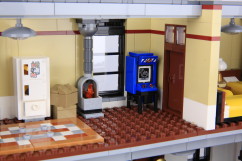
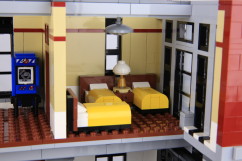
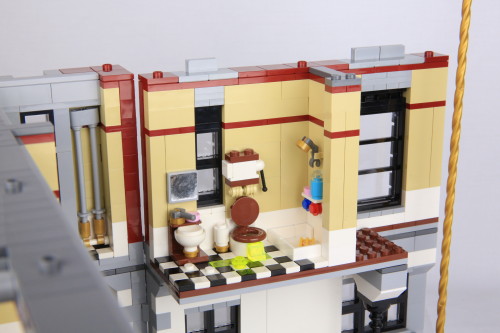
There’s a small fireplace and an arcade cabinet flanking the window. The arcade cabinet, meta-interestingly enough, is for a Ghostbusters game. Next to that is the sleeping quarters featuring three beds. Next to that on the hinged section is a highly detailed bathroom complete with a high tank toilet, a sink, and a shower stall. The bathroom also has a slime trail presumably from when Peter came back from his first encounter with Slimer and tried to wash up. Or you can believe the pictures on the box and think it was Slimer just generally making a mess while releiving himself. It’s amazing how much detail they were able to cram in there. Also, I know typically cold water’s on the right but the instructions show it being on the left so I just followed the instructions because my name is Emmet.
Third Floor
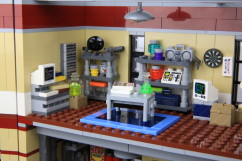
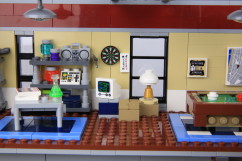
The third floor has Egon’s exam area where you can put Egon and Louis outfitted with his helmet and chin strap head. The exam area’s shelves are stocked with neat little details like a boombox and mysterious containers.
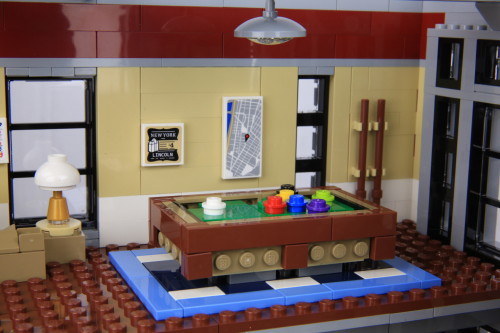
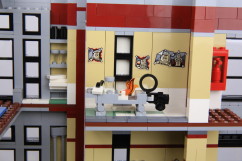
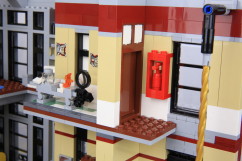
Next to the exam area is a pool table and next to that, straight out of Ghostbusters II, is the dark room used to develop pictures that Peter took of Vigo the Carpathian of Moldavia, which are hanging on the wall behind the table. There’s also the door to the darkroom that Winston breaks through with the fire extinguisher that’s hanging on the wall on the other side. Details, man. This set’s chock full of ’em.
Next to the fire extinguisher is the fireman’s pole. That fireman’s pole, someone at my LUG meeting dubbed as “The Twizzler”, is a brand new element and I assume the handlebar element the minifig hangs onto is new as well. As he slides down the pole, he spins. It’s awesome and fun in its simple execution. The Twizzler is anchored at the top and bottom by non-friction pins so resetting the handle bar is easy. Just pull the handlebar up and the Twizzler spins. Let go and the minifig spins as it makes its descent. It’s quite nice and easy to play with. Big props to the designer who came up with this. Very well executed and fun!
Final Comments
If you’re living in the ’80’s and a HUGE Ghostbusters SUPERFAN, this set is perfect for you. The exterior details of the building are accurate and interesting but sparse if you’re looking at it from any other angle than the front. It really shines on the inside though with a ton of details taken from the two Ghostbusters films. The minifig cast is top-notch and is the best versions of the Ghostbusters team ever made. For the LEGO collector, builder, and aficionado, there are a lot of nice little builds and you might even learn a thing or two from building some of the interior elements; the way that Egon’s exam table connects to the floor still blows my mind. Just be aware, however, of the large investment in not only money (it’s $349.99), but time as well. It will take you roughly 12 hours to build it all and in the end you’re essentially left with a big box. And despite how accurate everything is, the building overall is fragile and finicky when you’re opening and closing it. The other disappointing aspect is that it doesn’t fit the Ecto-1 like LEGO claims it does. Overall, I don’t feel like there’s enough to justify the cost and time for a casual fan and collector to give it a 5-star rating. Even if you were to overlook its flaws, it’s not a must-have for every LEGO fan, just for SUPERFANS and AFOLS with deep pockets. It would easily be a 4.5 stars but we don’t do have half-star ratings around here so I’m rounding down and giving it a final score of 4 out of 5 stars.
LEGO Ghostbusters 75827 Firehouse Headquarters will be available from LEGO Shop@Home on January 1, 2016.
And if you haven’t picked up the awesome little 21108 Ecto-1 set and want to not park it inside the Firehouse Headquarters, you can pick one up from LEGO Shop@Home or Amazon.com.
Many thanks to The LEO Group for sending over the review set.

