
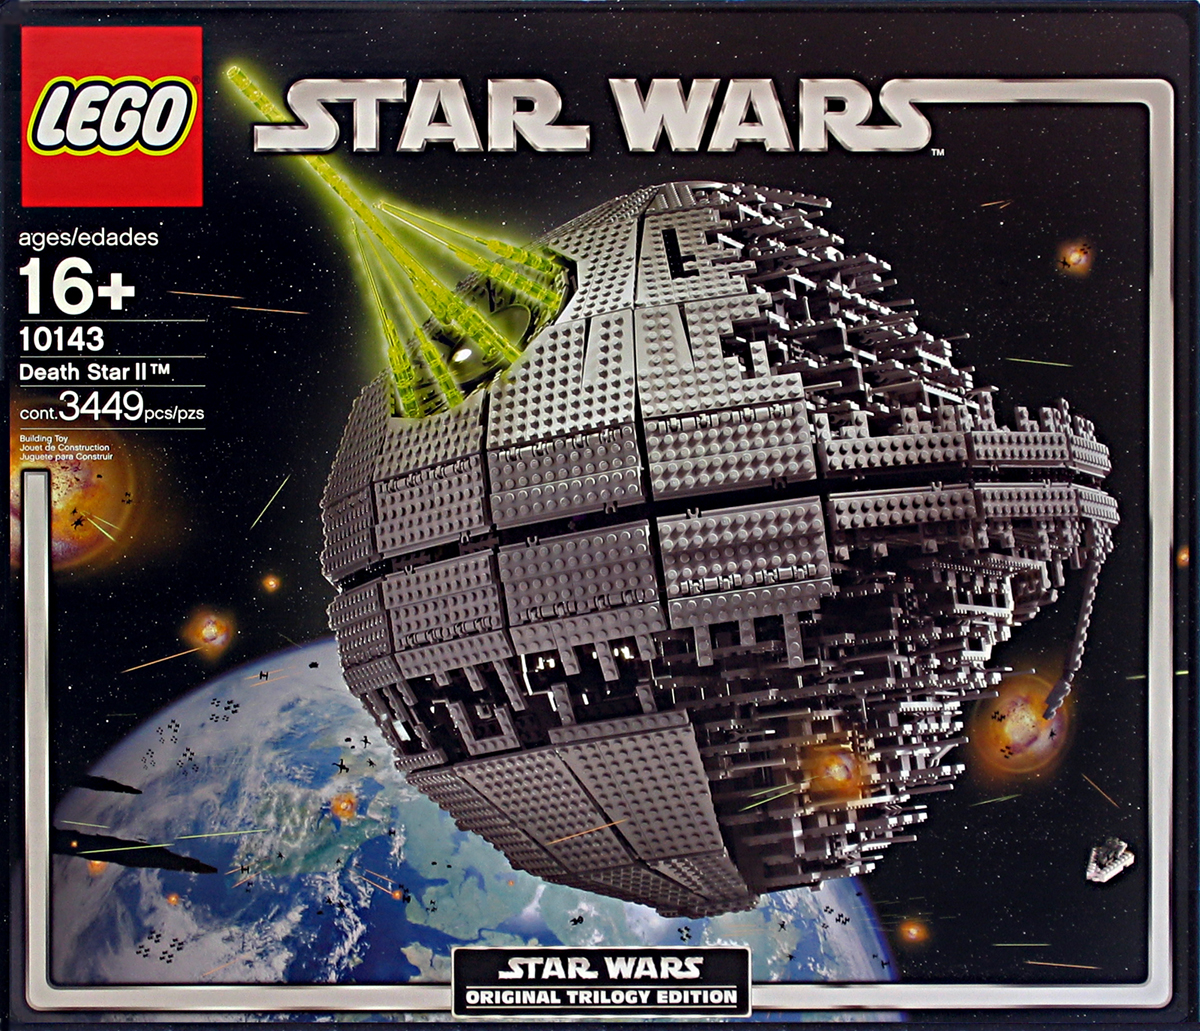
A long time ago, in a forum far, far away, there was a discussion of what could be candidates for future UCS models. There was a post about how a Death Star might be pretty cool, but I had to disagree. And I remember commenting that a Death Star wouldn’t be exciting at all, just a giant grey ball with a dimple, and that a Death Star II might be slightly more exciting since it breaks up the monotony and has a more interesting look and design. Fast forward a few months later, and I find myself at Toy Fair where the 10143 Death Star II is unveiled for the first time. To be quite honest, I wasn’t too thrilled with it and I couldn’t really say why. I didn’t have a lot of time to really examine it, and flat, 2D pictures on my laptop display isn’t the same as seeing it in person, so I did my best to reserve judgement.
Well, here I am today having spent the last day and a half building the monstrous thing. It arrived a few days ago in a giant fitted brown box, much like how the ISD ships. Inside the Death Star II box were four big white boxes and the spiral-bound instruction manual. Seems like LEGO has learned their lesson with the instruction manuals for their larger sets seeing as to how the ISD manual initially shipped with a manual that had a glued spine and later ones came spiral-bound.
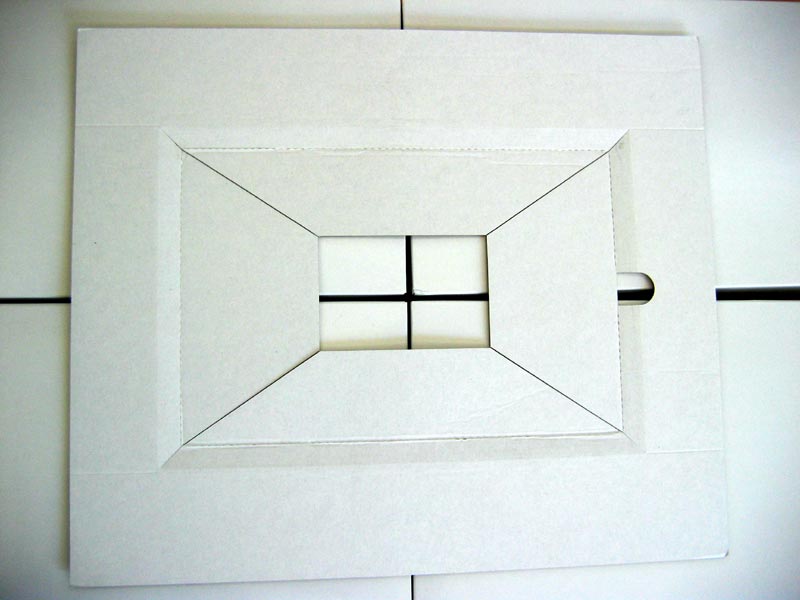
It also came with this odd piece of cardboard that I think was supposed to hold the instruction manual in place, but it wasn’t when I opened the outer box.
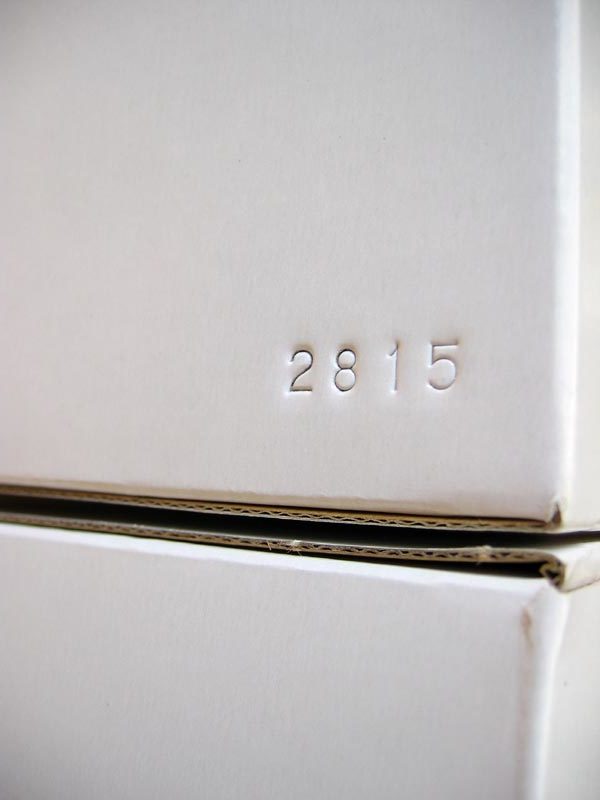
The four inner boxes weren’t numbered in any obvious way; they were embossed on the side with numbers. They were numbered 2715, 2815, 2915, and 3015. Other than that, there was no way to distinguish one from the other, nor if they should be opened in any order.
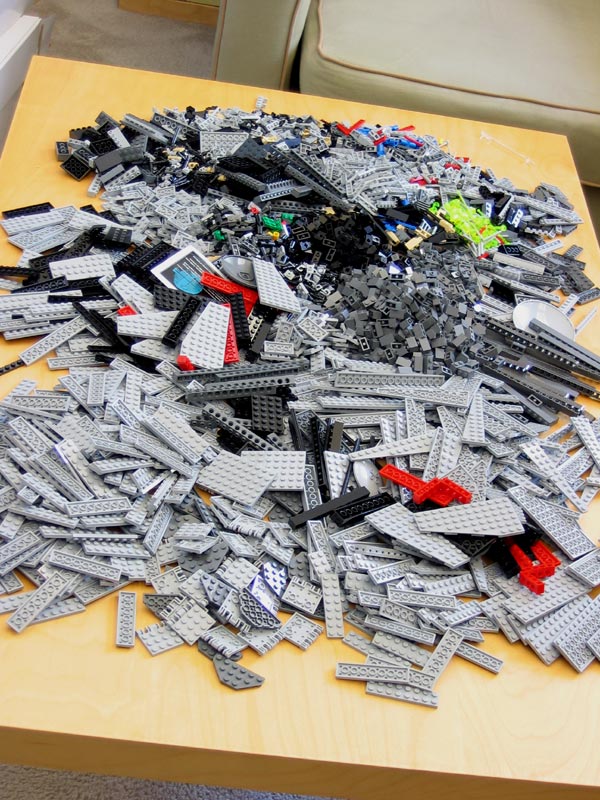
After opening all the boxes, none of the baggies were numbered either. I contemplated what my next move would be, so I did what every other seasoned veteran builder of my age and building experience does: pour the contents of all the bags into a giant pile and take over the living room.
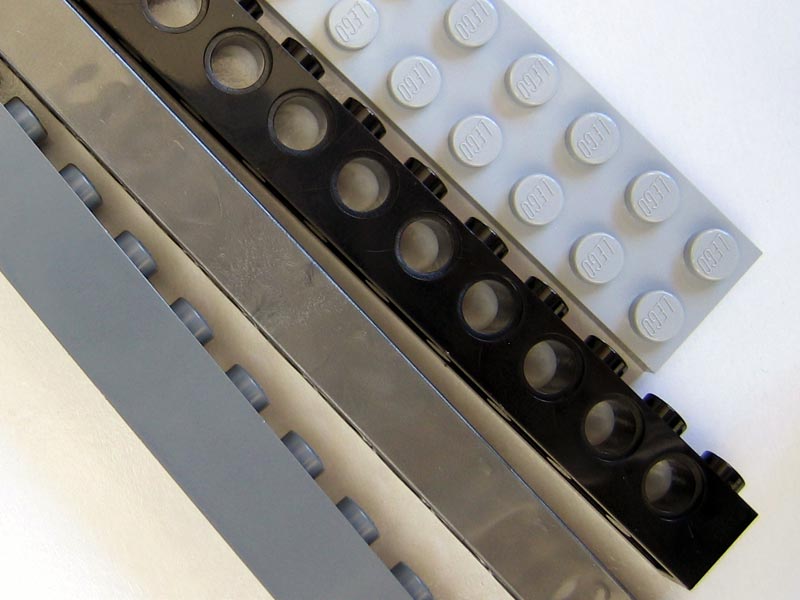
Now I don’t know if it’s my old age coming through, or maybe the color receptors in my eyes aren’t fully functional, but I have a difficult time distinguishing some of the colors in the instruction manuals. I think it was when I was building the 4504 Millennium Falcon that I felt particularly frustrated, often mistaking light grey with sand blue, dark grey with black, and sometimes white with light grey. The reason I bring this up is because there is not only light grey, dark grey, and black elements, but a third grey color in this set. Luckily, it’s only the extra long beams used to build the central spine of the Death Star II because on paper, it’s way too close to black.
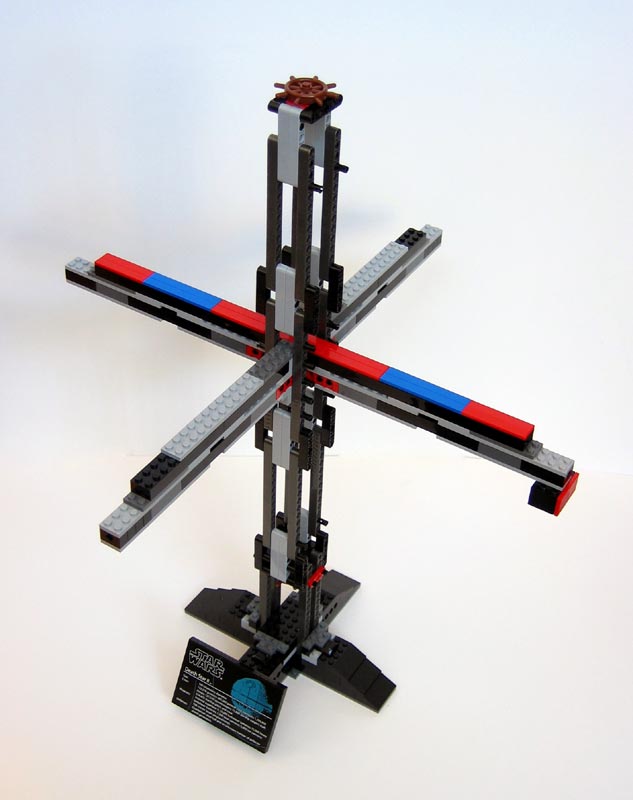
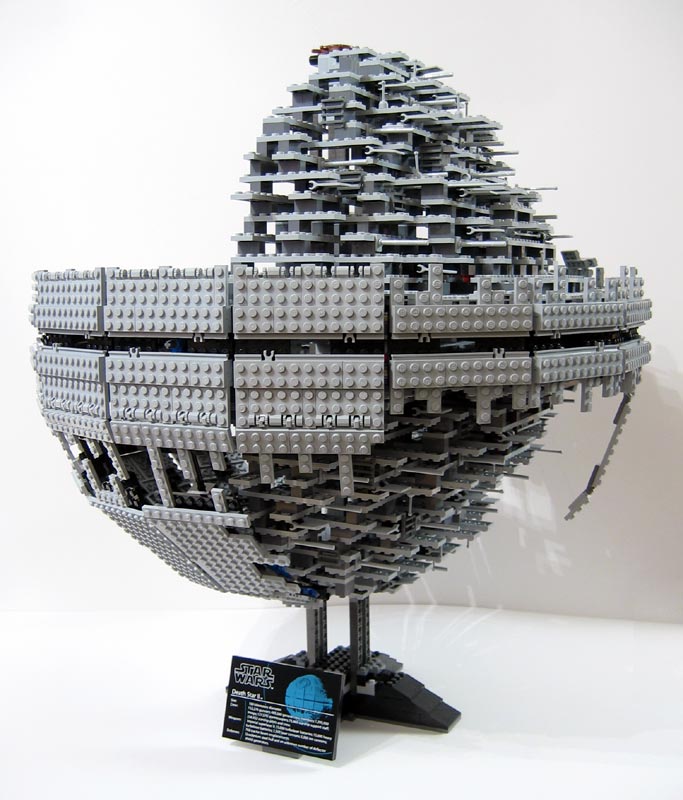
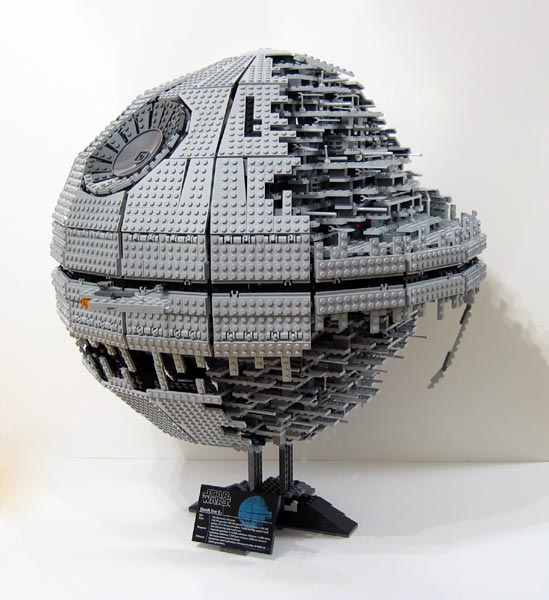
The central spine used to support the whole model measures 52 studs in diameter, with the actual model being approximately 58 studs in diameter and about 68 studs tall from top to bottom including the display base. It’s obvious from the various photos on the box that the model is built from a series of angled panels that taper to a point.
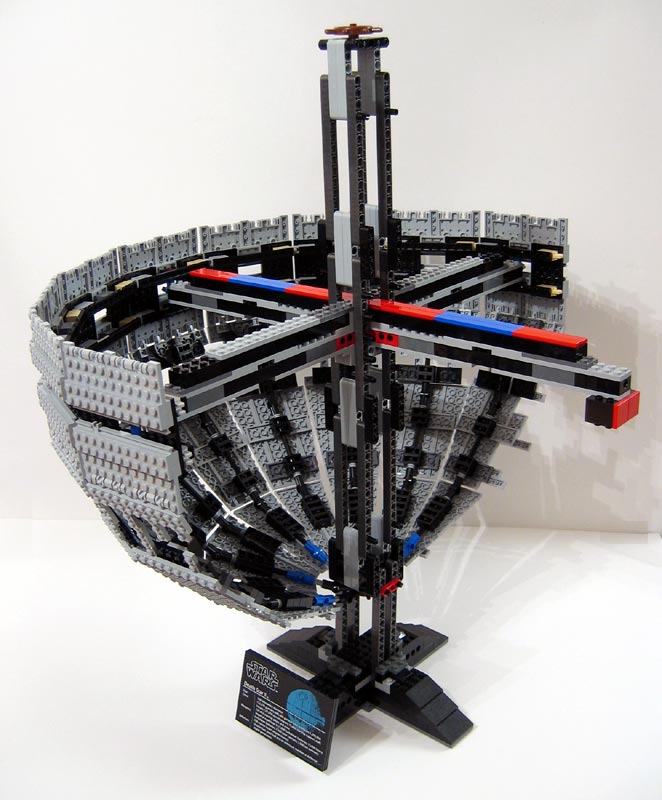
The instruction manual had me build a quadrant of the Death Star II first, consisting of 9 of these panels. The construction of the panels was quite amazing. It was the first time I’ve ever built an official set where attaching elements on the offset bind was so integral.

After I built that, the next task was to build the parts of the Death Star II that was still “under construction”. Luckily, you build two of the same quadrants, so my advice to you is to build them at the same time.
In fact, a lot of the panels are repeated multiple times, so it would be in your best interest to build the same components simultaneously whenever possible. Attaching the bottom quadrant was a little tricky at first, since I didn’t want to disturb any of the greeblies, but not impossible.
You have to flip one of the quadrants you just built and then attach it to the center spine. Putting the top quadrants in its place was a snap in comparison. At this point, the model becomes very heavy on one side, and it was a little nerve wracking to have to move the model back and forth for fear of it tipping over and falling.
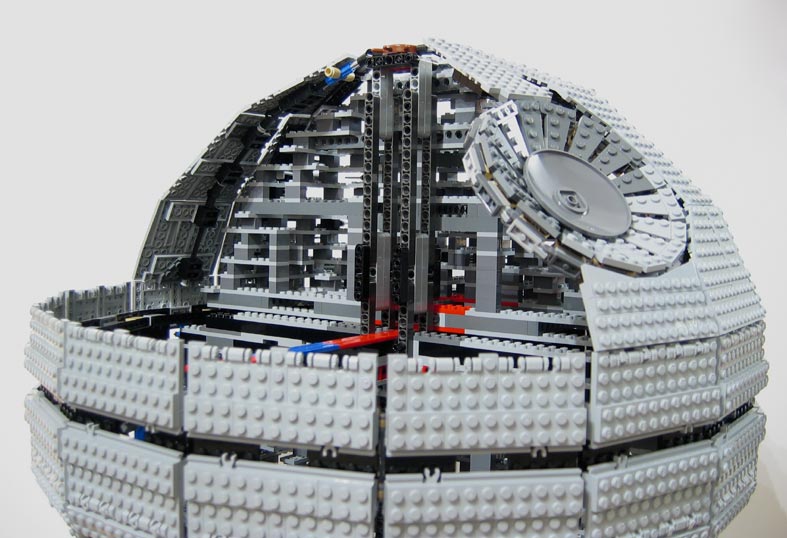
Building the last quadrant was just as enjoyable as the first, maybe more so since I got to build the dimple. Building the panels was a fairly easy affair, and seemed to fly by compared to building that mess of the previous two quadrants.
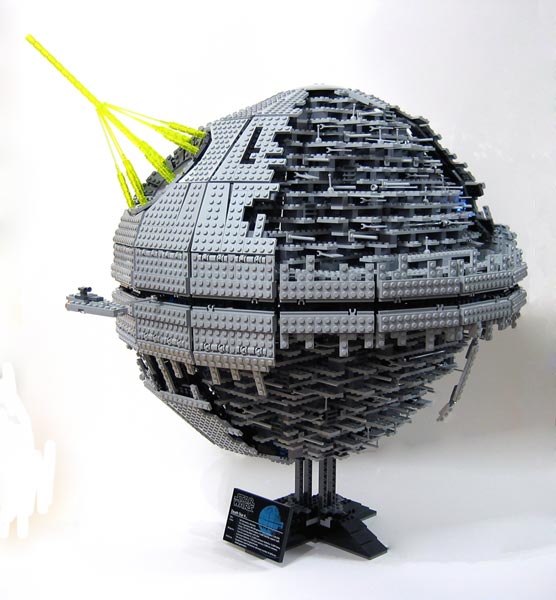
In short order, it was finally finished, complete with Imperial Superlaser II.
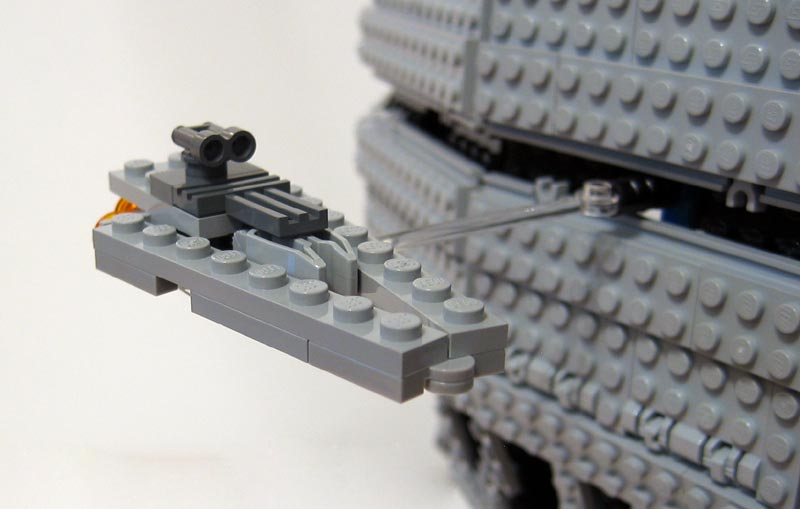
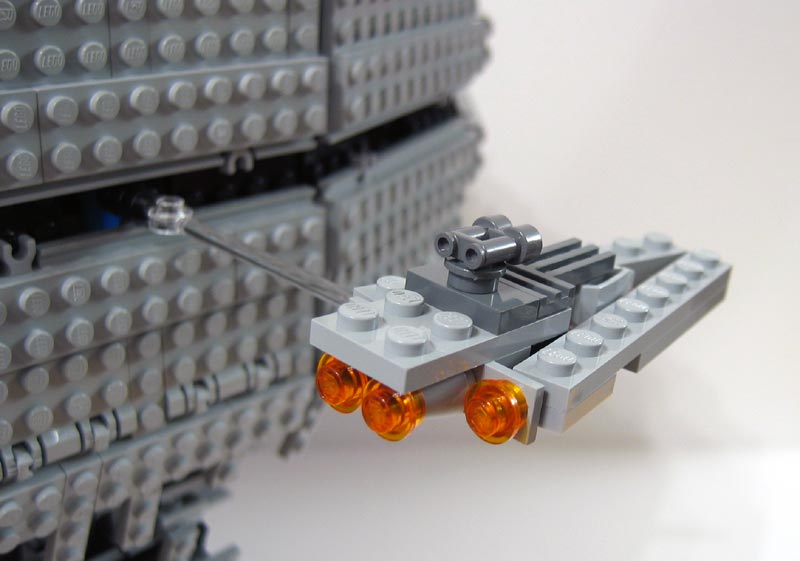
The only thing left to build was the MINI Super Star Destroyer Executor. Not so intimidating at this scale, eh? You can check out the back of the ship too if you’d like.
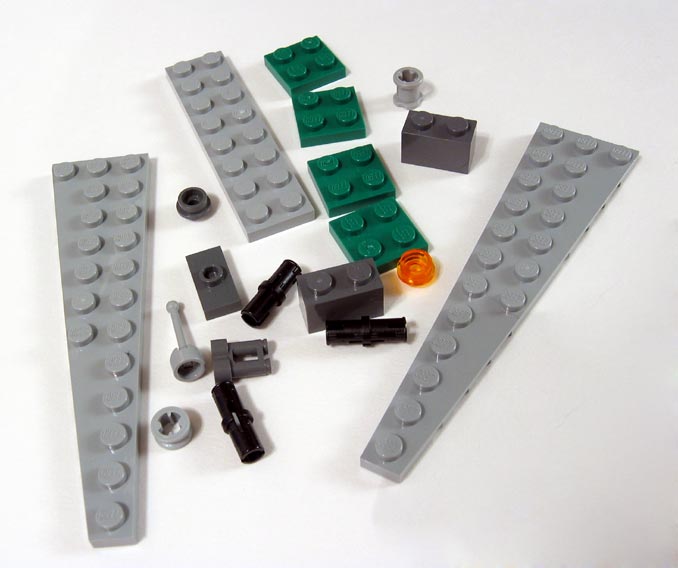
Now funny thing about this model is that I had a lot of left over elements, and I’m not talking about a spare Technic pin, or bushing, or even 1×1 round plates, I mean, I had a lot of pieces leftover. Puzzled, i went back over the instruction manual, examined the model at every angle, and couldn’t figure out what to do with the extra pieces. Maybe some robots at the factory had a little too much synthetic motor oil to drink and went a little pack happy and overallocated some of the pieces. I wouldn’t be surprised since one of the elements on the Executor was light grey instead of dark grey like the instructions said (it’s that little claw thing in the middle).
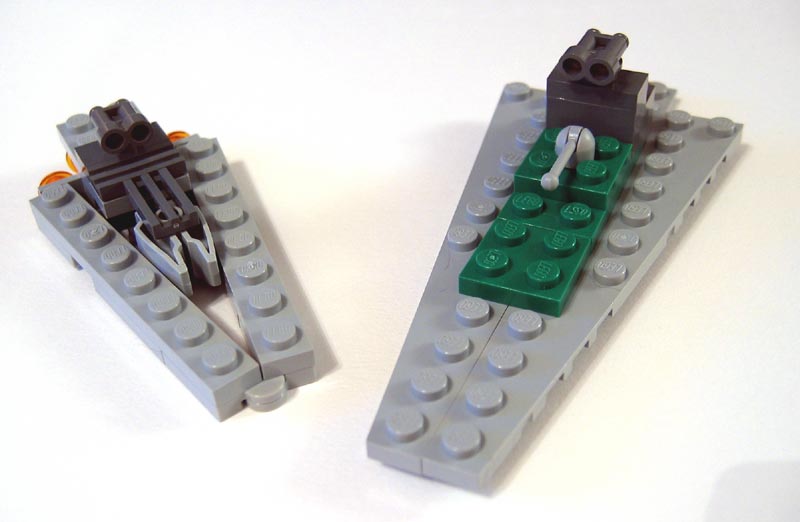
Maybe it was bonus feature, a hidden model that gives the builder a sneak peek of a prototype ship even bigger than the Executor. So I did what every seasoned veteran builder of my age and building experience does: try and discover the secret ship!. I shall name him… Tongue Depressor.
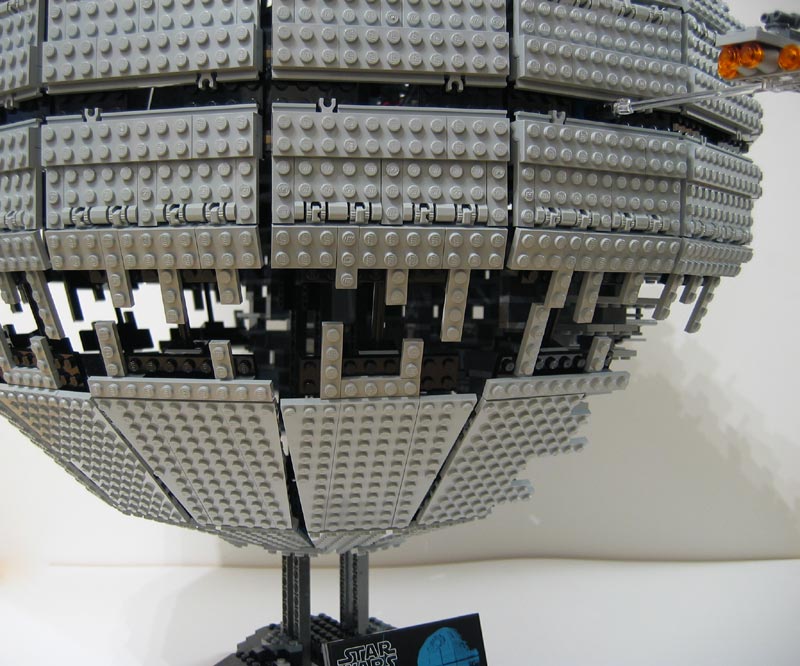
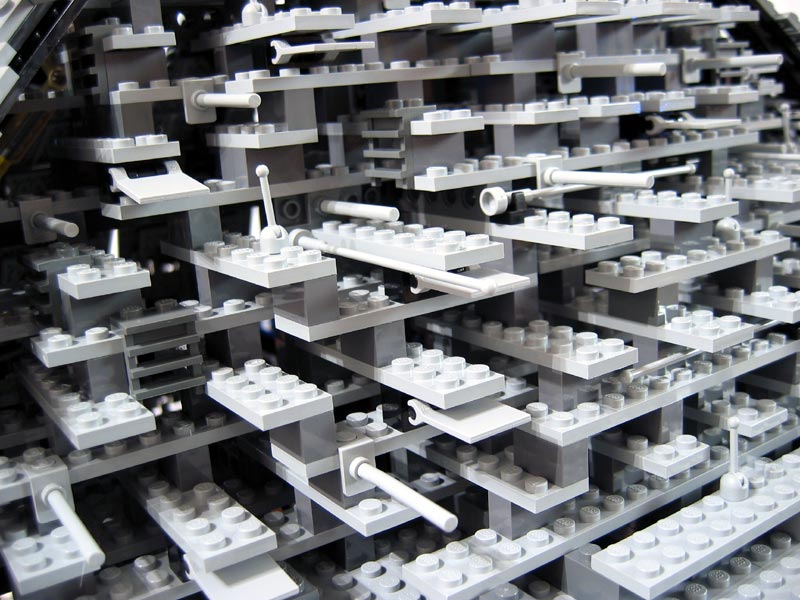
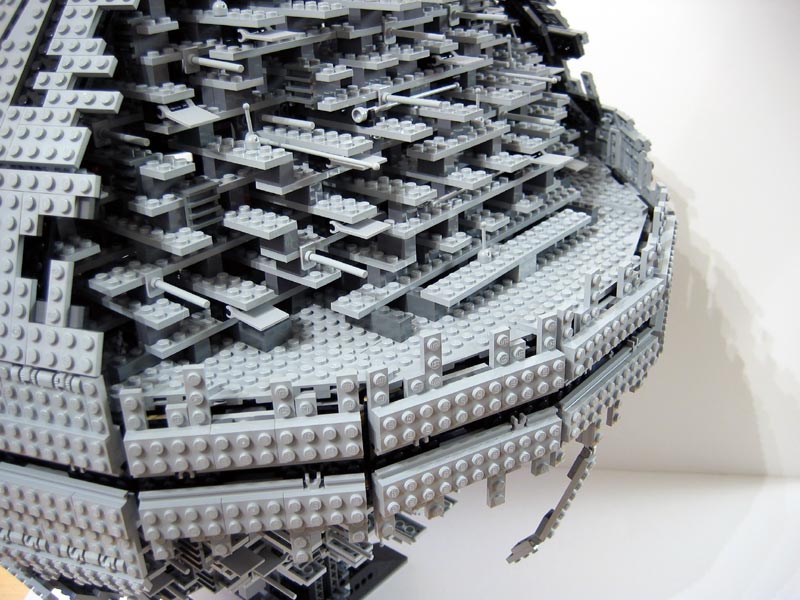
Anyways, here are some more photos of the model. This photo shows off the trench and lower half that looks semi detached. The greebly side of the Death Star II kind of bothers for a few reasons. For one, it was a pain in the ass to build. Probably the least enjoyable aspect of the whole building experience. Secondly, the greeblies don’t quite come out all the way to the edge of the circumference and because of this, doesn’t give me the feel of of a rounded dome. Maybe that was intentional, who knows.
And lastly, since you build two exact copies of the same quadrant, but flip the bottom one over, it’s practically a mirror of the top. it’s a little too symmetrical for my tastes and I feel like the top should have been more built up more robustly than the bottom, or make the bottom a little less beefy. I don’t know about you, or how the actual Death Star II model looks like, I’m too lazy to cue up my Return of the Jedi DVD, but that’s how I imagine what the state of completeness is for these two quadrants.
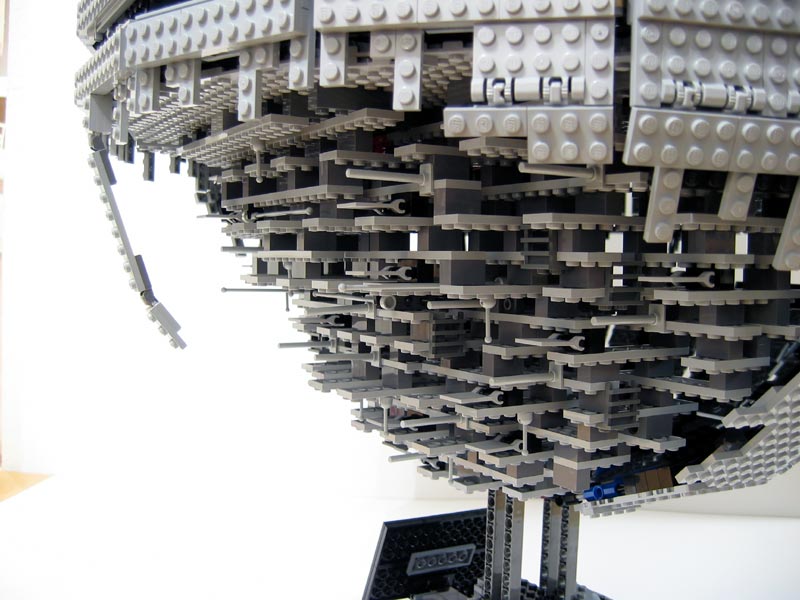
One last gripe. There is this odd little… flap that hangs down on the lower portion of the greebly side. It should be beefed a little bit to give it a more balanced look. If anything, it seems like the designer got lazy, or a couple of pieces got lost as it was being transported down the hall from the model room to the photo studio. Maybe that’s what the pieces for Tongue Depressor was for, but alas, that page of the manual only has the waifish flap and no other elements.
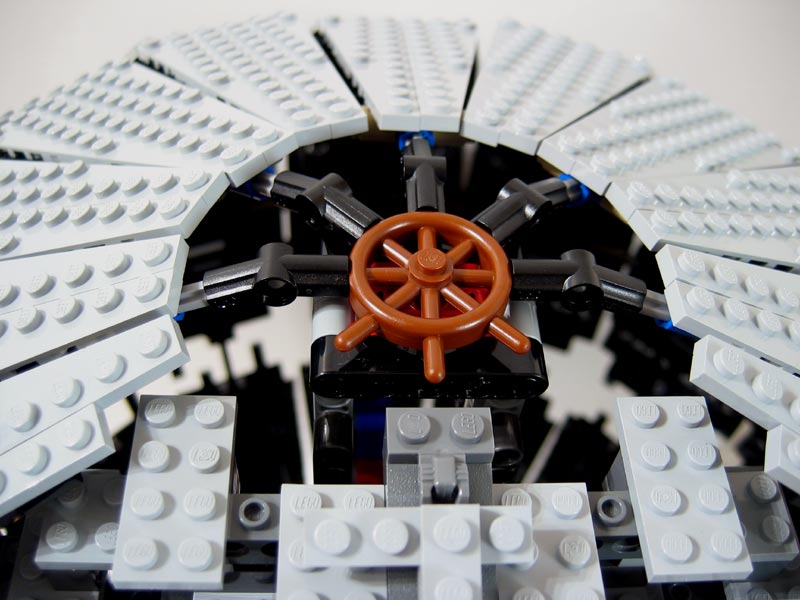
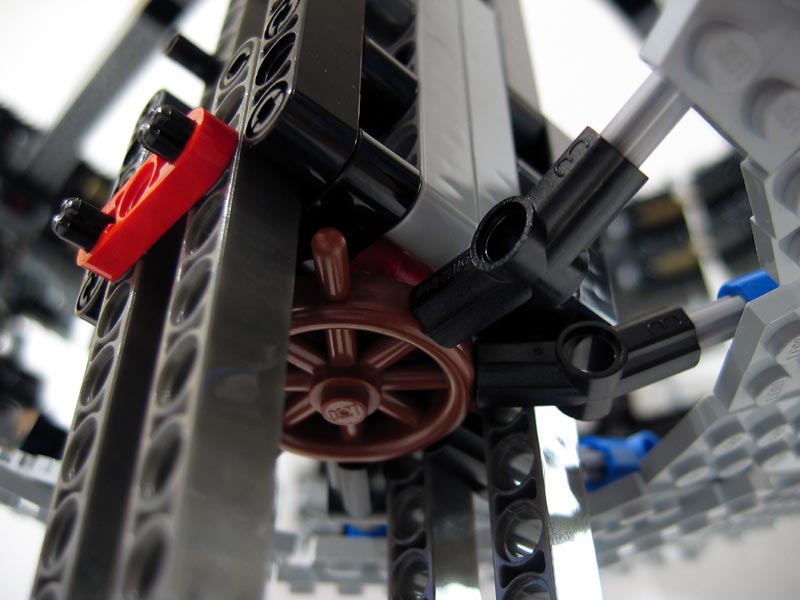
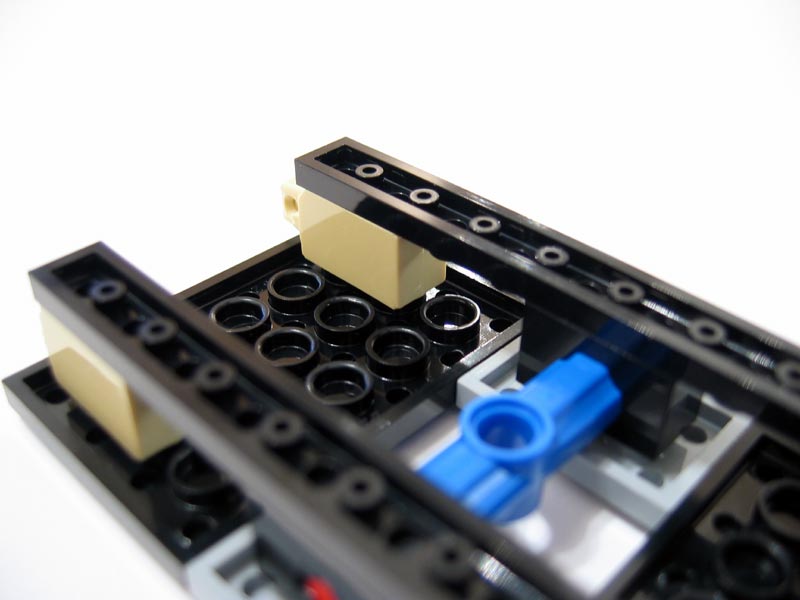
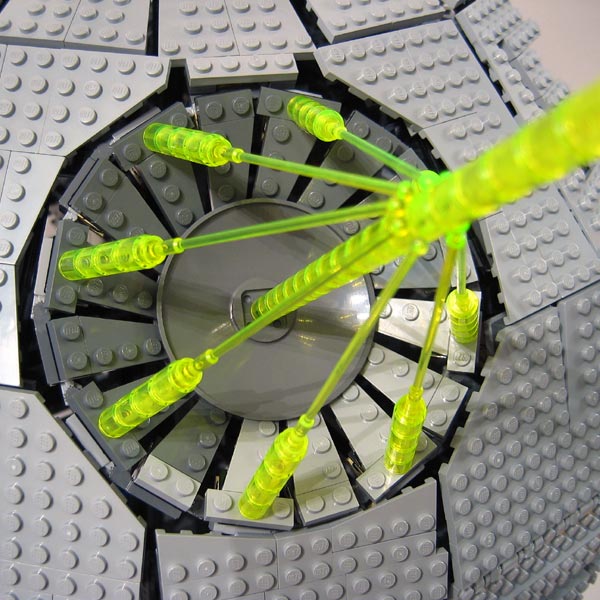
15 hours earlier, when I was gleefully dumping all the contents of the baggies onto my living room coffee table, I noticed two very odd elements: ship steering wheels. I wondered what the heck they could be used for, still wondered after I attached it to the top and bottom of the central spine. But after I attached the first panel and saw how the tip of the panel inserted perfectly into the wheel’s handle, it became crystal clear to me. Here’s what the bottom wheel looked like after the first quadrant was built, but you can get a better sense of what I’m talking about by looking at the top wheel. It amazed me how exact the math was. The series of pins, bushings and connectors made the panel fit so perefctly and aligned with the steering wheel’s handle effortlessly. It truly was an impressive piece of engineering.
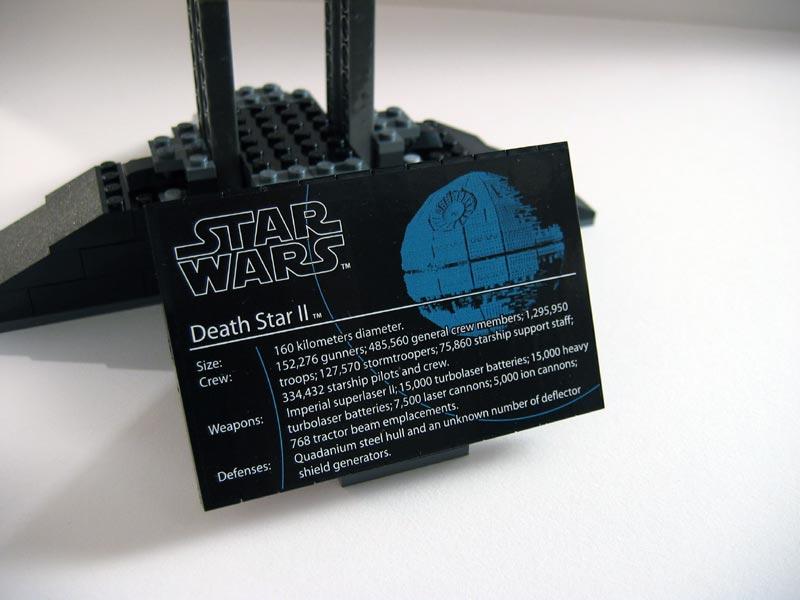
Here is your gratuitous UCS label shot.
There are few opening scenes in movies as memorable as the one for A New Hope, with the Rebel Blockade Runner flying away from you, and then the massive Imperial Star Destroyer flys overhead in hot pursuit, then you cut to the next scene where the Runner is flying towards you and you see the Destroyer behind it. Awesome. That same feeling of awe was successfully captured and translated to LEGO form with 10030 Ultimate Collector Series Imperial Star Destroyer. It became the best selling LEGO set ever in record time. It’s pretty obvious that LEGO attempted to capture that same magic with something that could be equally impressive. The Death Star fits the bill when thinking about the movies. How many of you thought the same thing I did when Alderaan blew up: “Holy crap that thing shoots a laser…. I wanna see it again!” Unfortunately, when translated into LEGO form, the final model isn’t nearly as impressive as the ISD. It helps when you remove the neon yellow/green laser effect elements; for some reason, doing that really makes the model a lot more appealing visually. In the end though, it’s tough for me to recommend getting this set. The ISD was such a fantastic experience both in the construction and the final model, that I can’t help but feel a little let down by the Death Star II set.
As a parts pack, you can’t really go wrong. Ever since the new blue-grey (or “bley”) colors replaced the classic greys, it’s been an awkward transition as builders like myself try to amass a good collection of all the elements in bley. 10143 Death Star II can give you plenty of plate elements in the new color, and for 3000+ pieces in the set for $300, each element comes out to less than a dime per piece. Not too shabby.
Price/Parts ratio: 10/10
Parts Selection: 7/10
Minifigs: n/a
Construction: 8/10
Design: 4/10
Swoosh Factor: -3/10
Reviewer’s Tilt: 4/10
Okay, the Swoosh Factor is a negative number but to determine the final score, it’s been set to zero.
Final Score: 5.5
Images used in this article:

